
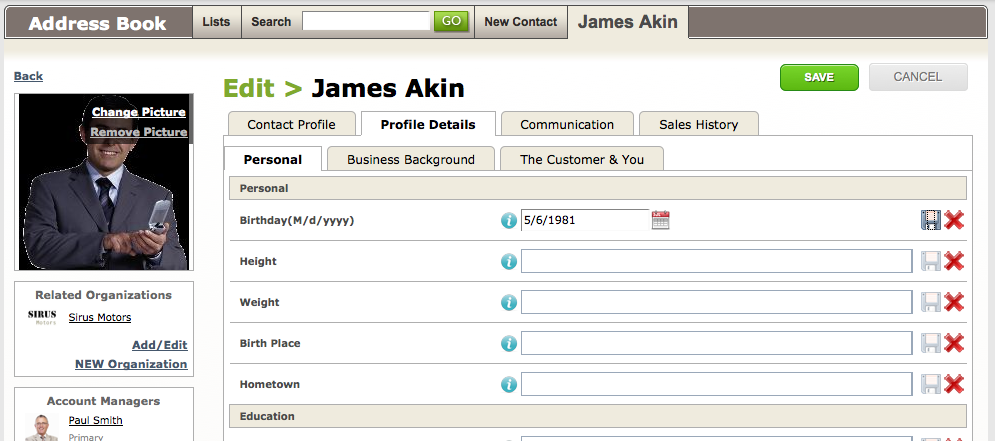
Create a number of custom fields to manage the client information that is important to your business. Your company-specific user-defined fields can be found under the Profile Details tab in any Contact profile in your Address Book.
Manage User Defined Fields
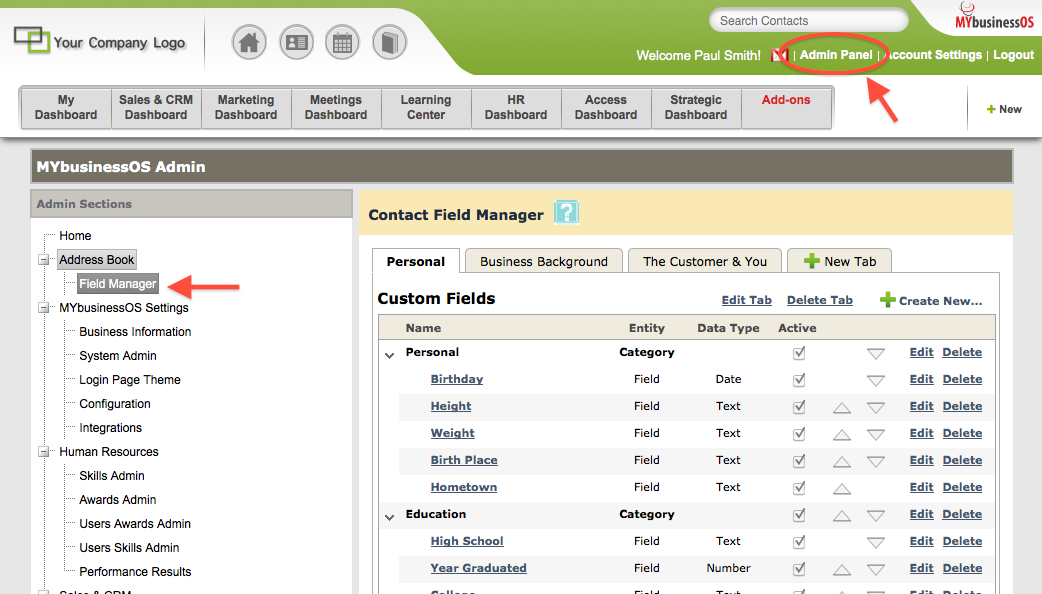
- To access to the User Defined Fields Manager, go to the Admin Panel->Field Manager
Here, you may see a set of default fields, loaded as suggestions in order to help in building client relationships. These suggested fields can be altered or removed to altogether to fit your business.
Create a Tab/New Field
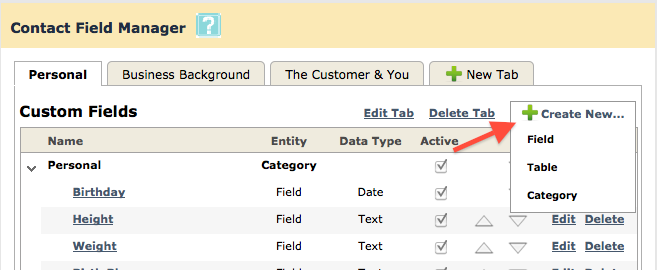
- To create a new Fields, hover over the ‘Create New…’ icon and select a type you would like to add:
Field: A field will hold a value that you enter, select or define. An example of a field would be a Text Box, Date Picker or a Dropdown list of options. Data types include:
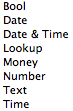
Table: A table could be used to store one or more entries that may have several fields. For example, defining a list of a client’s children or family members. You may want to devote a field to their Name, Age, and Birthday, as part of that table.
Category: A header that allows you to group your fields/tables on a single Tab.
Tab: The highest form of grouping. Your Profile Details tab could contain multiple sub-tabs to categorize your fields. You may not need to add additional tabs unless you manage several custom fields.
- For this example, we will create a new Field
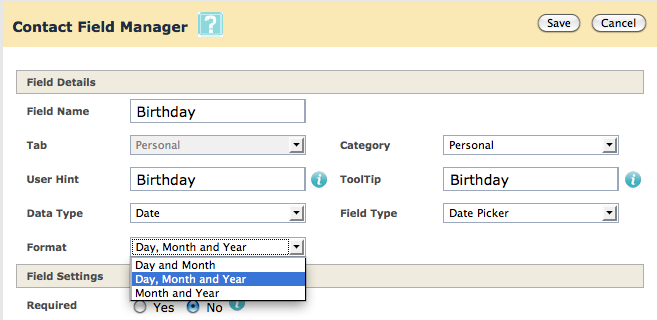
- Define the Data Type and Field Type you would like to use. Define the format, and default field value, if applicable.
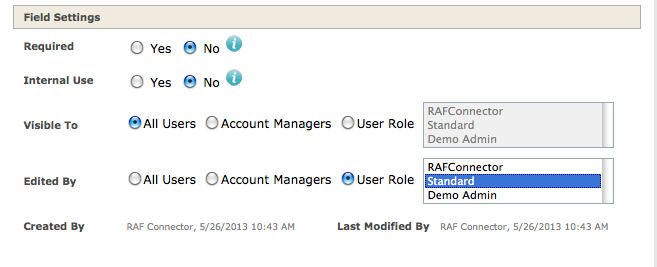
- Define the Field Settings:
Required: Will the user be required to complete this field before saving a Contact profile.
Internal Use: Visible only to the System Admin
Visible To: This field will only be visible to these users
Edited By: This field will only be able to be edited by these users
- When complete, click Save at the top of the page. The field will be created under the Profile Detail tab for all Contacts in the Address Book.