Upload/Share New Files with your Class
When a Program is created, a Resource Library folder is setup automatically within the Program Resource Library for that new Program.
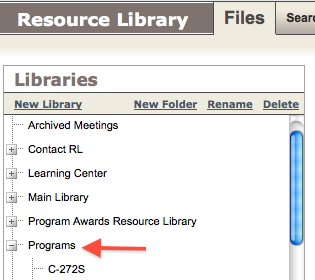
- Open your Program and click on the Resource Library button from the left-hand menu of options. This will take you to your Program’s Resource Library folder:
- Click Upload New File. A dialog will appear to allow you to select the file(s) you wish to share from your computer.

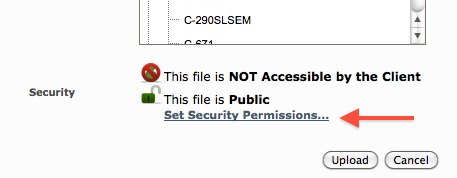
- Look at the Security settings and confirm that the files is, shared with the client.
The file is NOT shared:
![]()
The file is shared:
![]()
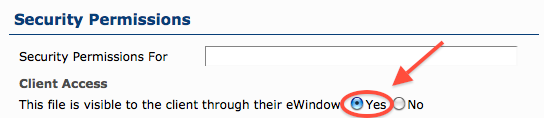
Click Set Security Permissions to update the file accessibility. In the Permissions dialog, check Yes for Client Access.
Note: A new file uploaded to the Resource Library will always inherit it’s parent file permissions, by default.
i.e. If you have set the Program folder visible to your participants, then all files uploaded to this folder (unless otherwise specified) will be visible to them, as well.
Click Save. You should see a green icon next to those files that have been shared with the Participants.
Share Existing Files with your Class
To share existing file or folder with your class:
Share a File
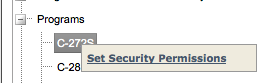
Right-click on the Security column for that file, and select Set Security Permissions.
In the Permissions dialog, check Yes for Client Access.

Share an entire Folder
Right-click on the folder in the left-hand panel, and select Set Security Permissions.
In the Permissions dialog, check Yes for Client Access.